
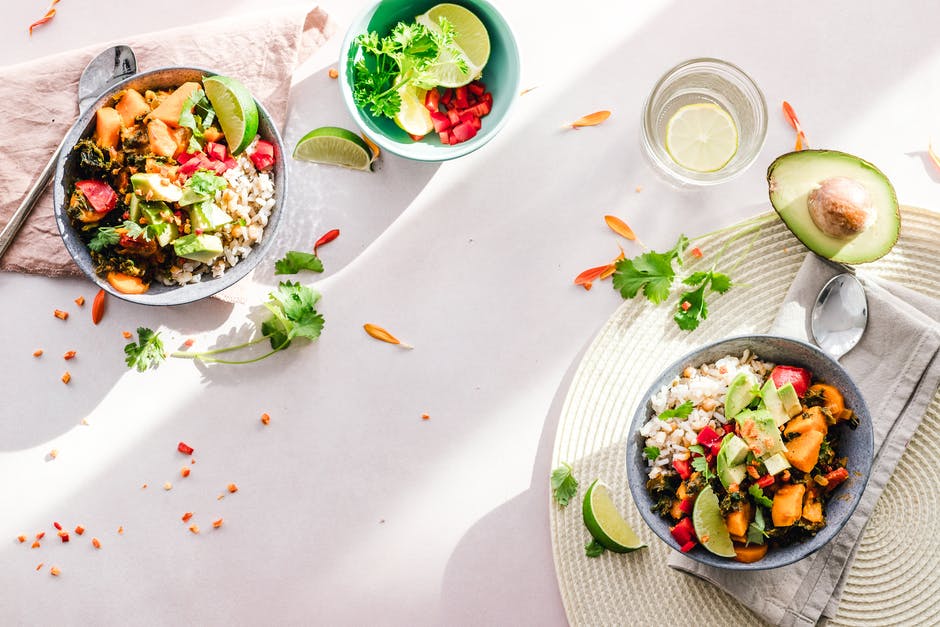
Did you know that taking pictures of your activities increases the level of enjoyment? That doesn't only mean photos of travel, concerts, or events. Taking snapshots of your meals can make you enjoy eating more.
Not to mention, they give your Instagram that foody aesthetic that everyone envies. But, believe it or not, there are several methods to consider when using your photography skills in the kitchen.
Are you ready to start taking post-worthy photos of your meals? Keep reading to learn more tips and tricks for Instagram food photography.
Preparing Your Food for Photos
By preparing your food the day before, you can ensure that you have all of the ingredients and items you need. You have to treat your meals like they are your supermodels.
That means planning things like:
- Color scheme
- Location
- Position
- Props
- Time of day
- Type of meal (Breakfast, Dinner, Dessert, etc.)
- Types of food (veggies, meat, pastries, etc.)
You should also consider the bowls, plates, and silverware you will feature in your food photoshoot. These items have just as much to do with aesthetics as the food itself. Some people like neat, white plates. Meanwhile, others prefer a more rustic touch.
Composition of Food Photography
When it comes to the composition of cooking photos, there is no tried and true method. You have to experiment a bit to find the right angle that works best for you. We suggest two ways:
- The 45-degree angle
- The 90-degree angle
For the 45-degree method, you want to set your camera flat on the table, then arc it up a bit. That adds depth to the display you have set up.
However, if your image is flat, the ninety-degree angle is your best friend. Stand on a chair to get high above your food. Now, you can encompass the full scope of your spread.
Use Natural Light
If contrast is your enemy, try photographing your food during the day. Pinpoint what time of day offers the best natural lighting.
Food photographers do this because natural light is softer than artificial lighting. Therefore, you have fewer shadows while using a singular light source.
Don't Overexpose
Photo exposure is how much light our camera shutter allows inside. Too much light and your photos come out either too bright or like they have a milky film over them.
Too little, and everything is dark. For the best shots, determine how much natural lighting there is in the scene. If it is a bright and sunny day, set your camera to allow less light while it takes the photo.
Fill the Frame
Don't leave any space blank. Your food should take up most of the photos. The reason for this is blank areas make pictures fall flat. People want to see the food, not your entire table.
If you do have space to utilize, sprinkle some props around to fill it in. For instance, if it is autumn and you have pumpkin pie, put some rustic leaves everywhere to set the mood and fill the frame.
Final Tip: Be Creative
Make this a fun adventure! Food and Instagram photography offers many opportunities to use your creative eye.
So, don't settle for one spread. Move things around, play with the theme, and experiment with color. Eventually, you will find what makes your food photography unique and stand out on social media.
More On Instagram Food Photography
As you can tell, there are more steps to Instagram food photography than you might think. We hope this guide helped you understand how to make your foodstagram pop with light, color, and creativity.
If you want more personalized Instagram tips, Restaurant Owners Marketing Academy is here to help! Contact us today to get the full scoop on how we can better your social media experience.
Recent Comments